Cutting Quarter Round Molding to DIY for Home Improvement
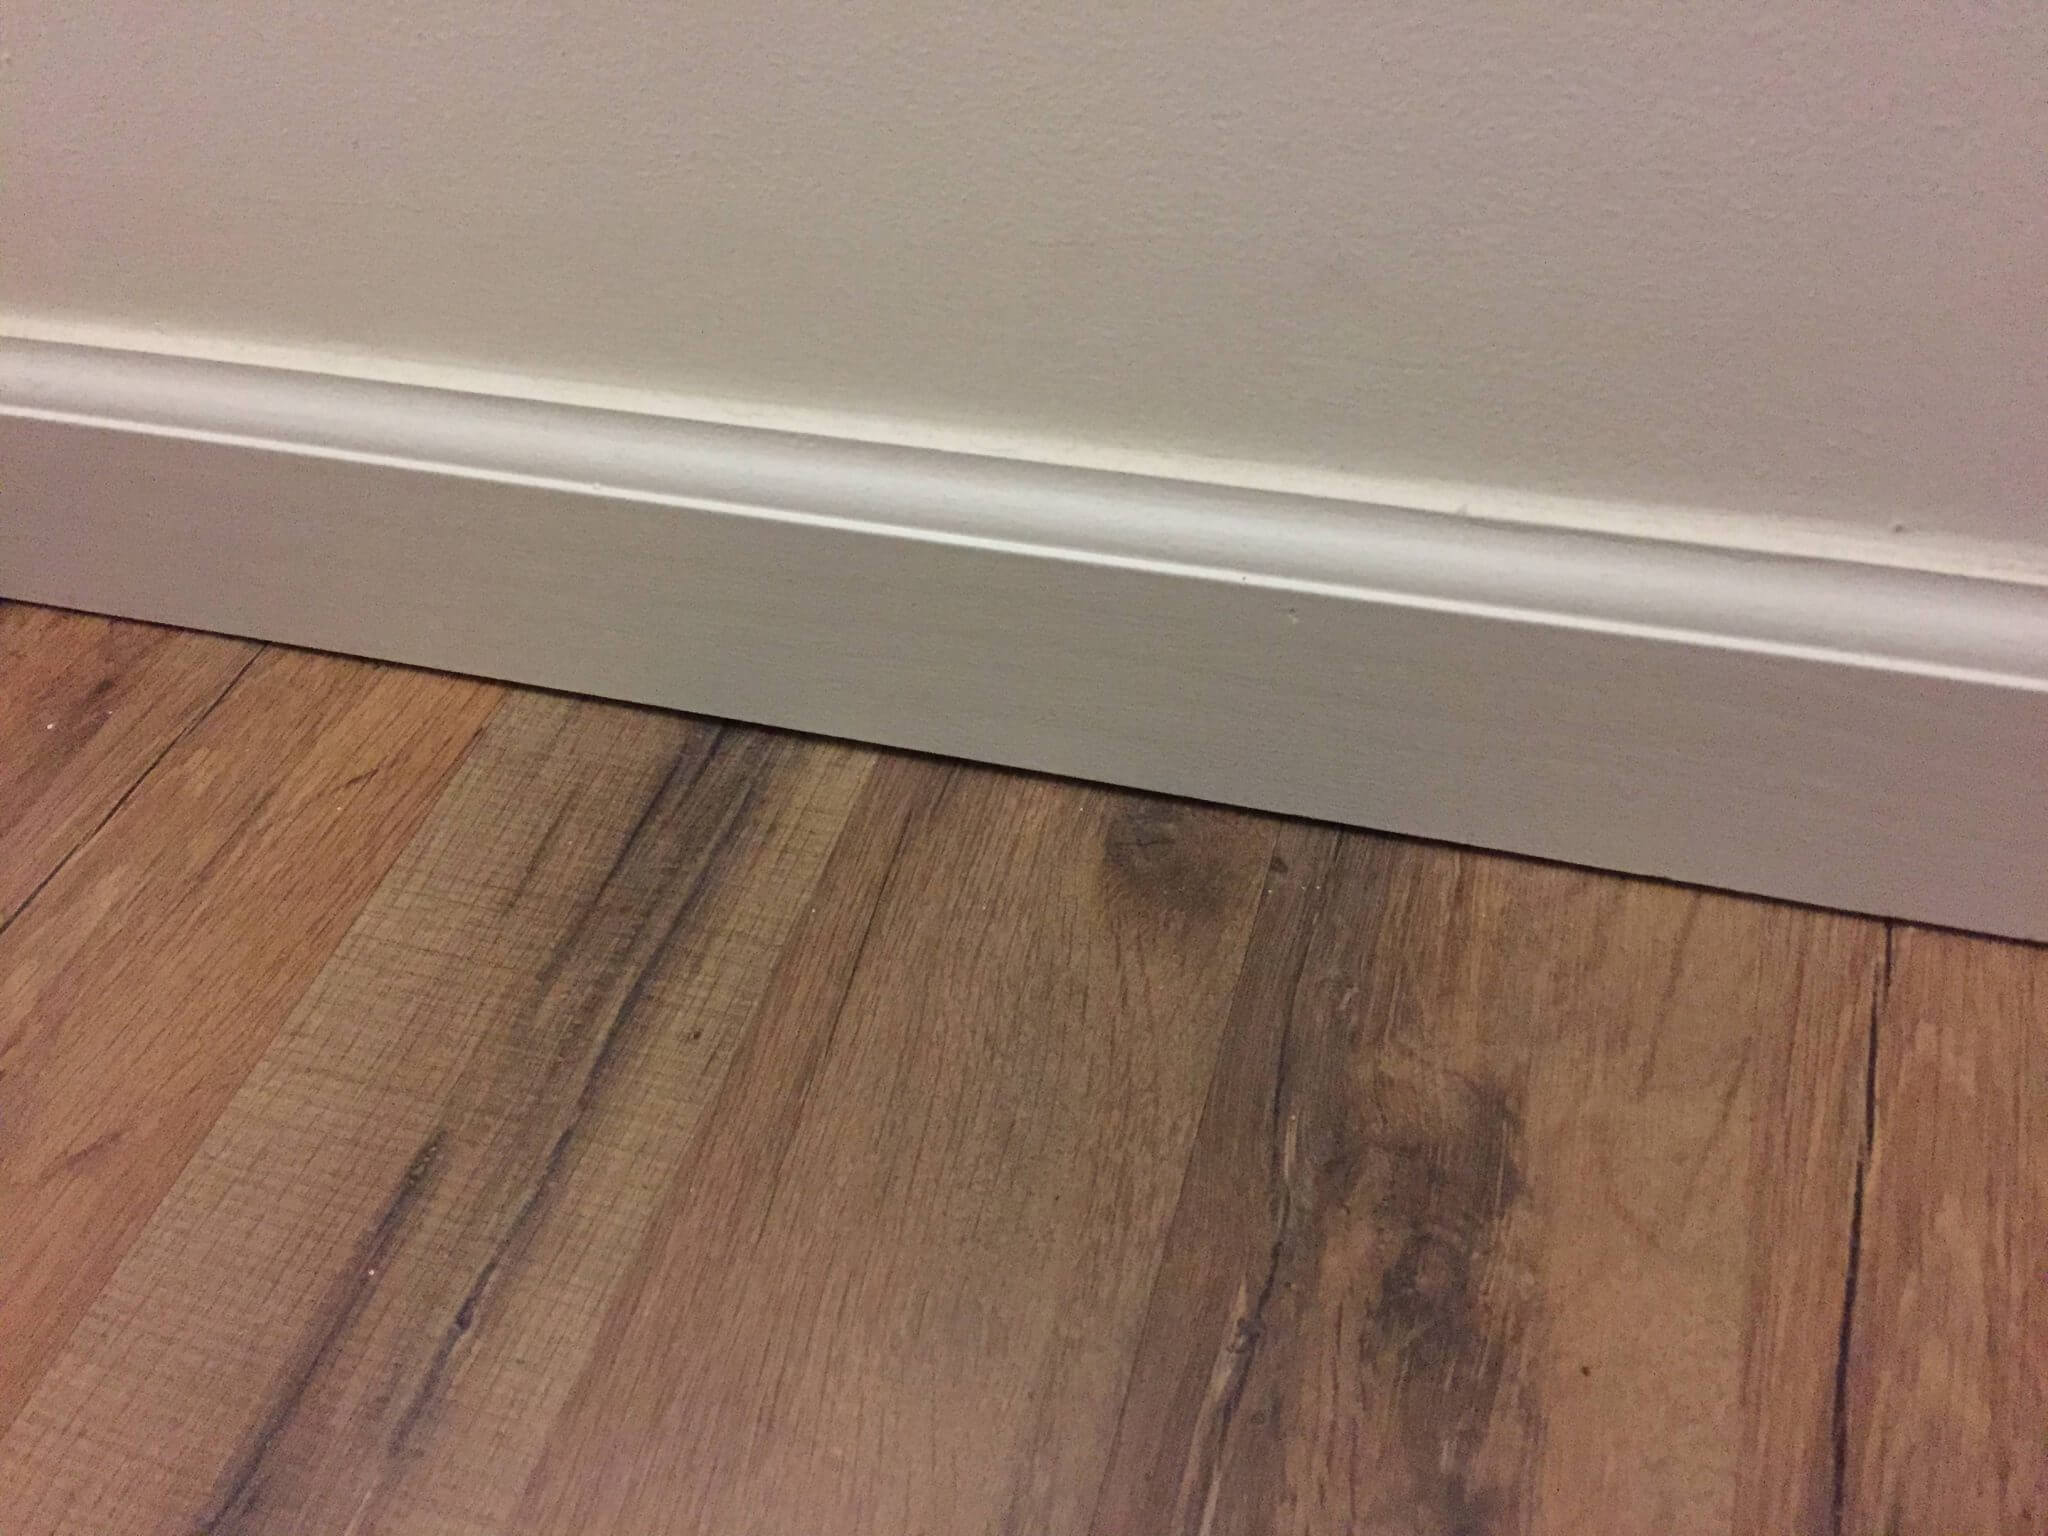 If you’re reading this, then among your DIY ideas has cropped up getting some quarter round molding installed. Here’s the deal: if you’re getting new baseboards installed, it’s a ridiculous long shot to hope that they’re going to be even with your floors or walls. The strongest likelihood is that the angle of their connection is uneven in multiple areas. Most flooring has mild undulations and divots that will leave unsightly gaps at the top of at random intervals.
Unfortunately, even in a hypothetical world where the baseboard is perfectly aligned with both walls and floor right now, it won’t last. The installation needs space for the hardwood to naturally expand and contract. Without any molding to neatly shield this from view, the baseboard will in the future display gaps. This is an unavoidable aspect of working with woods, and not (as some may imagine) an error on the part of your floor installer.
The easy solution? Install some quarter round molding (sometimes referred to as shoe molding) in order to conceal any existing or future gaps on the baseboard! This is a very simple DIY to complete with a professional look at little cost.
You won’t need many tools to get this project complete:
- Your quarter round molding (obviously)
- Tape measure
- Tri-square for measuring (You can also use any old ruler if you can manage to get it at a 90º angle, but we strongly advise a tri-square to be confident of your cuts)
- Miter hand saw & miter box (You can pick one up cheap at your local hardware store or order online)
- Hammer (Alternatively, you could make use of a pin nailer if you have access to one. It would definitely make the project significantly easier and reduce your install time dramatically)
- 1½” finishing nails
Preparation
Before you get going with your cuts, you want to have your measurements complete to eliminate any wasted effort, time, and materials. Use your tape measure to get accurate lengths along the base of the walls where the molding will be installed. When you’ve got your tally, add a foot or two on to it to account for any mistakes. This also provides for additional scrap when it comes to cutting for angles.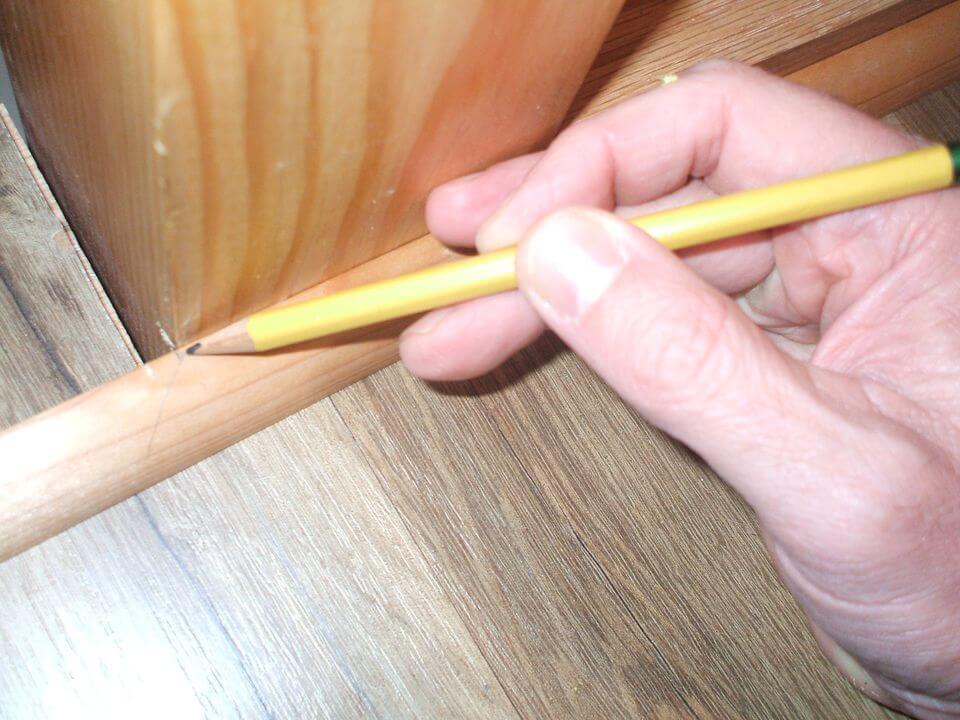
With these measurements established, mark out the lengths on the back of your quarter round molding to be cut. Utilize your tri-square to draw a neat straight line at each cut point. It’s also very useful to draw an extra line on the outside of your initial line; use that as your actual cut line to provide yourself some leeway.
Making Your Cuts
With your measurements recorded and marked out on the molding, you’re all set. The manual miter saw and box really shine on projects like this one, as an electric saw could shatter wood easily on something thin like long molding pieces. It’s a great investment!
Remember how we recommended to cut on the *outside* of your cut point (on that second line). This will help to ensure that you don’t end up coming up short on the molding where it connects at corners or walls.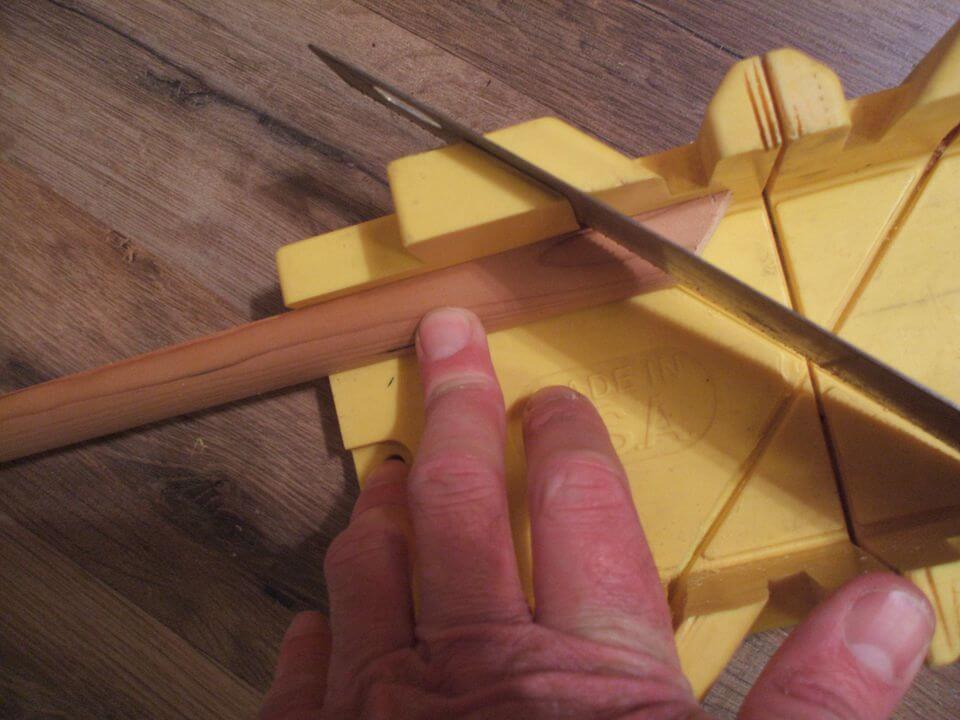
Cutting Your Molding for Angles
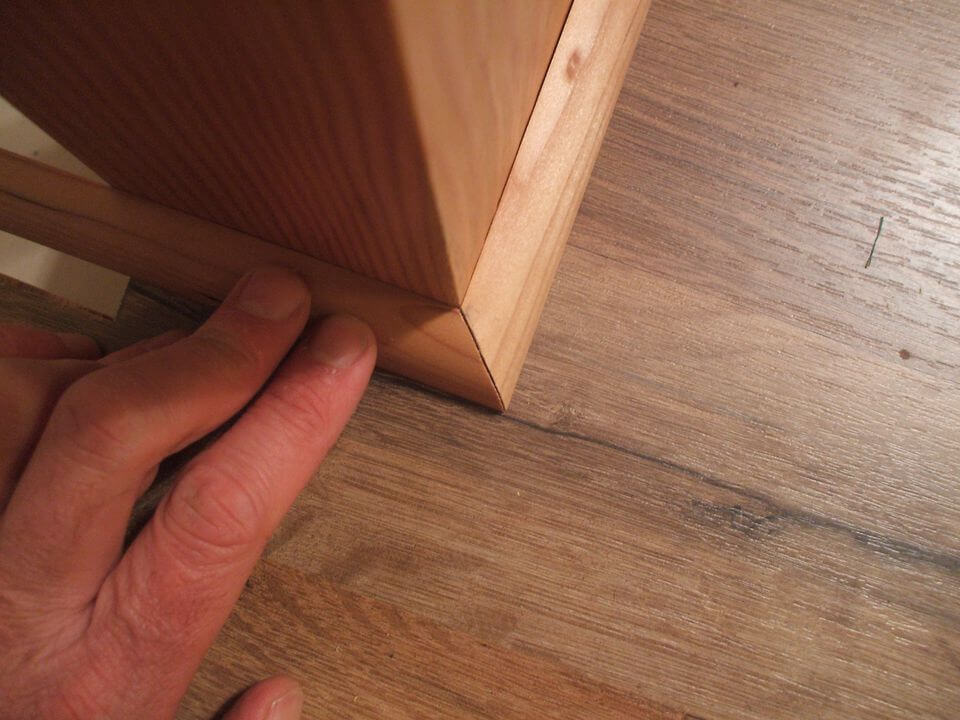
When you need to cut for inner or outer angles, you won’t want to cut at a straight line. The two pieces will need to meet at complementary angles. The miter box makes this very simple. Just cut your first piece at an open angle (if it’s an inner corner), then cut the opposite angle on your next piece so that they fit against one another. The same approach works for outside corners; complementary angle cuts to make the molding marry each other well.
Installing the Molding
Either using your pin nailer or your good old fashioned hammer, you will want to get the molding securely nailed in. It can be tough to get this done without a pin nailer unless you’ve got some help keeping the molding flush and secure. Either way, you will want to ensure that your nails are angled as horizontally as possible, in order to get the nail into the wall as opposed to the floor. Note that you will want to make use of a stud finder to get as much connection with studs as possible. If you don’t have a stud finder yet, it’s a good idea to invest in one as you’ll need them in most DIY projects.