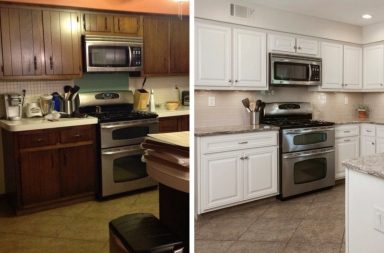
Step by Step – How to paint your kitchen cabinets!
Your cabinets are getting older but they’re still in great shape. They’re showing signs of wear in the form of chipping and fading paint. Before rushing out to pay a professional to repaint them, consider that you can do it yourself at a fraction of the cost. You just need to be willing to spend a bit of elbow grease and lots of time. The projected cost for anyone undertaking this tiered task is only about $200, the skill level necessary is “moderate” and the estimated time to complete the job will range between four days and two weeks. Painting your modern kitchen cabinets just may be something you can do on your own, resulting in the smooth and glossy look of a factory finish. Read on and decide for yourself if it’s something you can take on… If you do decide that you simply don’t have time time to take on this DIY project, you should definitely consider buying discounted RTA kitchen cabinets from an online retailer such as Best Online Cabinets. It can actually be actually be even cheaper than paying a professional to resurface or repaint your kitchen cabinets.
1. Do your prep
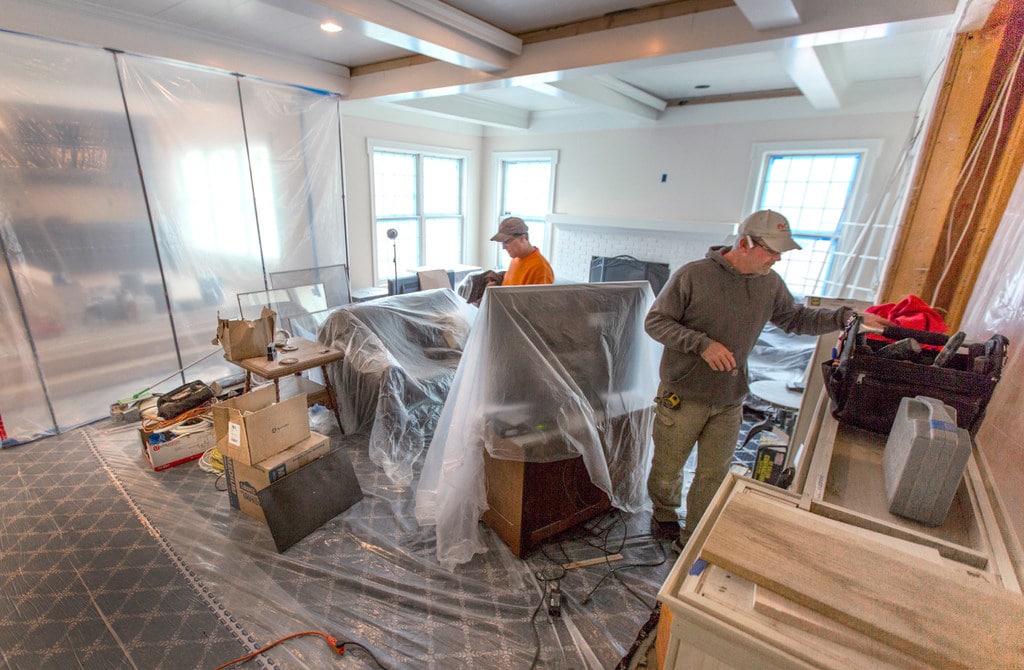
The first thing you need to do is get the room ready. It’s no different from restaining bathroom cabinets. Take everything out of the cabinets and off of the counters. Move furniture out. Use rosin paper and tape it over countertops and flooring. Tape plastic sheeting over the backsplash, windows, fixed appliances, and interior doorways (this is necessary to protect your home from dust and fumes). Mask the wall off around the cabinets. These steps, known as “surface prep” are important to ensure a good paint job. Set up a worktable that can accommodate painting doors drawers and shelves.
2. Detach doors, drawers and shelves
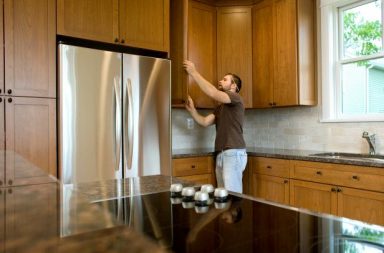
Undo the hinge screws from the frame of the cabinet and take off the doors. From left to right, top to bottom, label each one (using pieces of tape). Also label the cabinet shelves and drawers. Put aside the self-hanging hardware. Remove all pulls and hinges and save what you are going to keep.
3. Separate doors, drawers, shelves before cleaning
Allow ventilation by opening the windows. Wear safety gear. Scrub all of the face frames, doors, drawer fronts, and shelving by using an abrasive pad that has been dipped in liquid deglosser. Try to maintain a rag underneath your scrubbing hand to catch drips. The deglosser will evaporate so wipe away any residue with another clean deglosser-dampened rag before it does.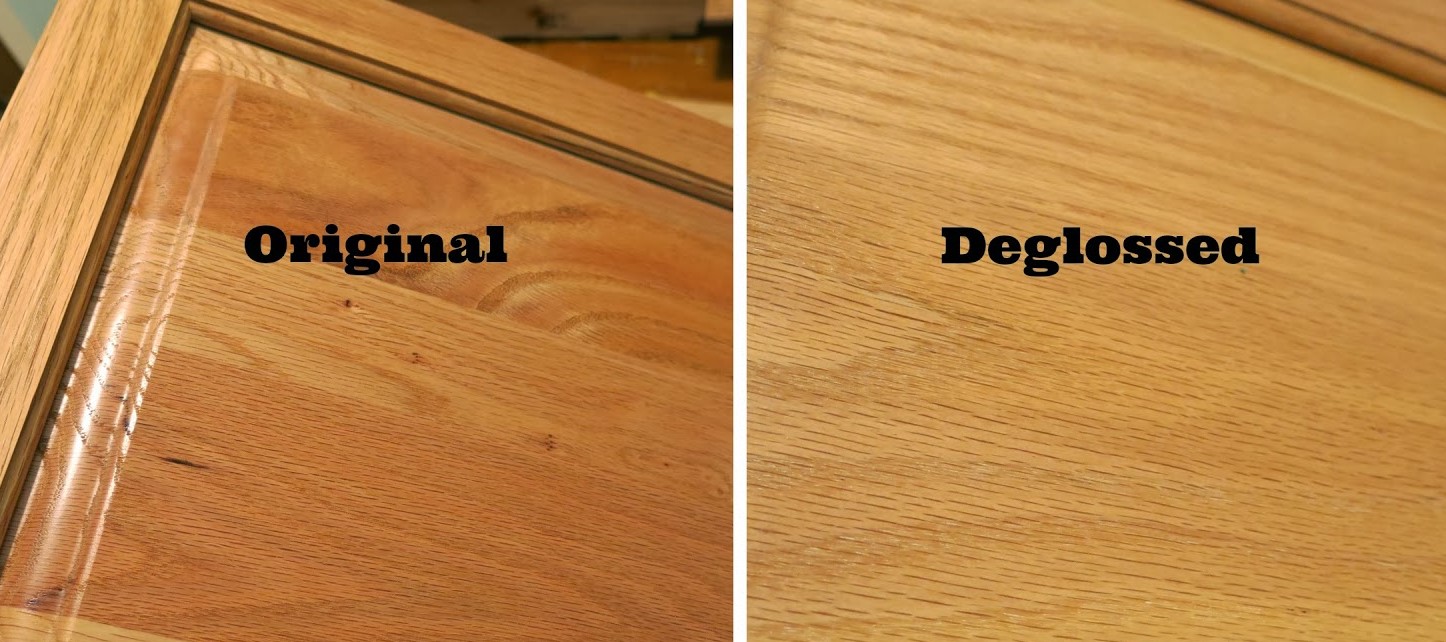
4. Fill any holes
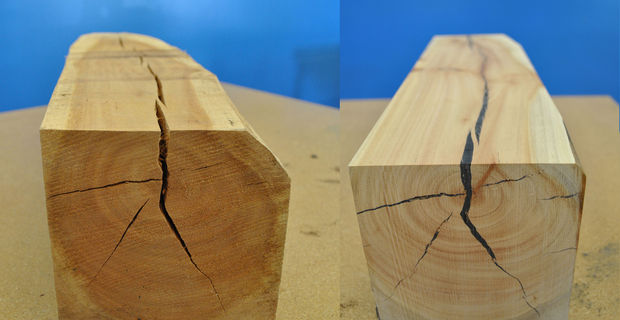 With the hardware removed, use the opportunity to fill the old screw holes with a two-part polyester wood or autobody filler. Mix the filler in tiny batches as it hardens in a matter of minutes. It also tends to shrink so fill the holes generously. When it sets, remove the excess hardened filler with a scraper. You may sand it smooth if a lump remains.
5. Sand & tack
Sand down all surfaces with 100-grit paper. In order to ensure no dust bits get into the finish, vacuum thoroughly. Hand-sanding is the most effective means, especially on oak as you can work with the open grain. A power sander is more likely to block or miss it.
6. Prime the wood
If the wood is maple, cherry, manmade or any other tight-grained surface, slow drying oil-based primers work well. Unfortunately, they tend to just sink into open grain woods (like oak, ash, mahogany, and hickory). In that case you need to use brushing putty – it fills the grain as it primes the wood. You’ll also want to use a good nylon polyester brush for each coat. You’ll need to sand as you go, to keep it level. Starting at the top of the cabinet, brush the primer across the grain before brushing lightly back over the wet finish in the direction of the grain. Allow a day for it to dry. Sand the flat surfaces with a random orbit sander and 220 grit paper. For profiled surfaces use a medium grit sanding sponge. When you’re done, it should be super-smooth.
7. Caulk & fill
Squeeze an appropriate bead of latex caulk into the open seams. Fill dents, scratches and dings with vinyl spackle and smooth it flat with a putty knife. Let dry before sanding with the 220 grit, then vacuum and wipe down with tack cloth. Spot-prime the spackle with a spray can of fast-drying oil-based primer. Sand, vacuum and wipe again.
8. Paint the boxes
From top to bottom, paint across the grain, and then back with the grain. Use a mini-roller for interiors. Sand, vacuum and wipe clean before applying the last coat, for which you will need a new brush.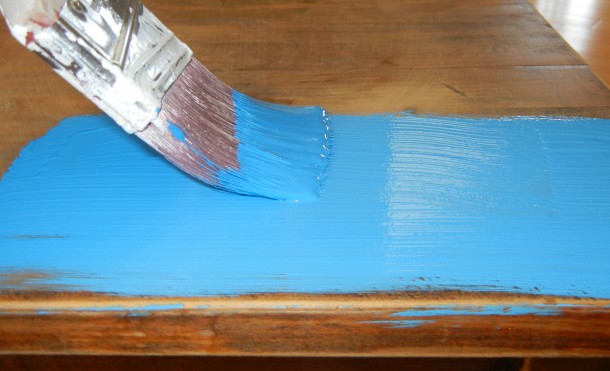
9. Prep & sand doors
Repeat the process on the doors with them lying flat on a table. When painting, start with the area around the panel, followed by the main field of the panel, finishing with the rails and stiles around the edges. After vacuuming and tacking all surfaces, spray a fast dry primer on any spots with spackle. Wait an hour and sand.
10. Apply final coats
 Be certain all dust is removed with a vacuum and tack cloth before applying the final coat. Go with the grain. When the first coat dries, power sand the flats and hand sand the profiles. Pull the brush toward the edges and away from the corners. Wipe loose drips immediately.
11. Hang dry!
To prevent runs, it is recommended that one side of a door be done at a time (24 hours to dry per side). In order to do both in a day, twist screw a pair of hooks into the top edge of the cabinet. Paint one side with the door lying flat and let dry for an hour. Carefully prop the door up against a wall and paint the other side. Insert a hanger into the screw hooks and suspend the door and allow it to dry.
12. Reinstall cabinet doors, drawers, and hardware
Remove all tape, and put the shelves and drawers back in their respective places. Re-install the hinges and knobs, and return the doors to their original placement. You’re all done! Congratulations! You successfully refurbished your kitchen cabinets!
